


How to Use the WPS Button on BrosTrend WiFi Booster
Unlock faster WiFi in seconds—learn how to use the WPS button on your BrosTrend booster for instant, secure pairing. Don’t let weak signals slow you down!
To use the WPS button on your BrosTrend WiFi booster, press the WPS button on your router first, then do the same on the BrosTrend device within two minutes. If the LED lights indicate a connection, your booster is now paired and ready to extend your WiFi.
Still, WPS doesn’t always cooperate on the first try. Some users press the buttons in the right order but see no confirmation. Others aren't sure how long to hold the button or which light means success. And when you’re relying on this feature to avoid manual setup, that small confusion can spoil the complete setup.
That’s where we step in. If you're unsure how the Brostrend setup via WPS actually works—or you're stuck somewhere mid-process—this guide is for you. We’ll walk you through the proper WPS method, explain what to expect from the LEDs, and make sure your BrosTrend WiFi extender connects without hassle.
Step 1: Know What the WPS Button Actually Does
WPS stands for Wi-Fi Protected Setup. When you press it on your router and then on your Brostrend extender, it allows both the devices to connect securely without, getting into the hassle of username, password, etc.
This works best if your main router also supports WPS. Most modern routers do, but you’ll want to confirm — look for a physical WPS button or check your router’s admin panel to see if the feature is enabled.
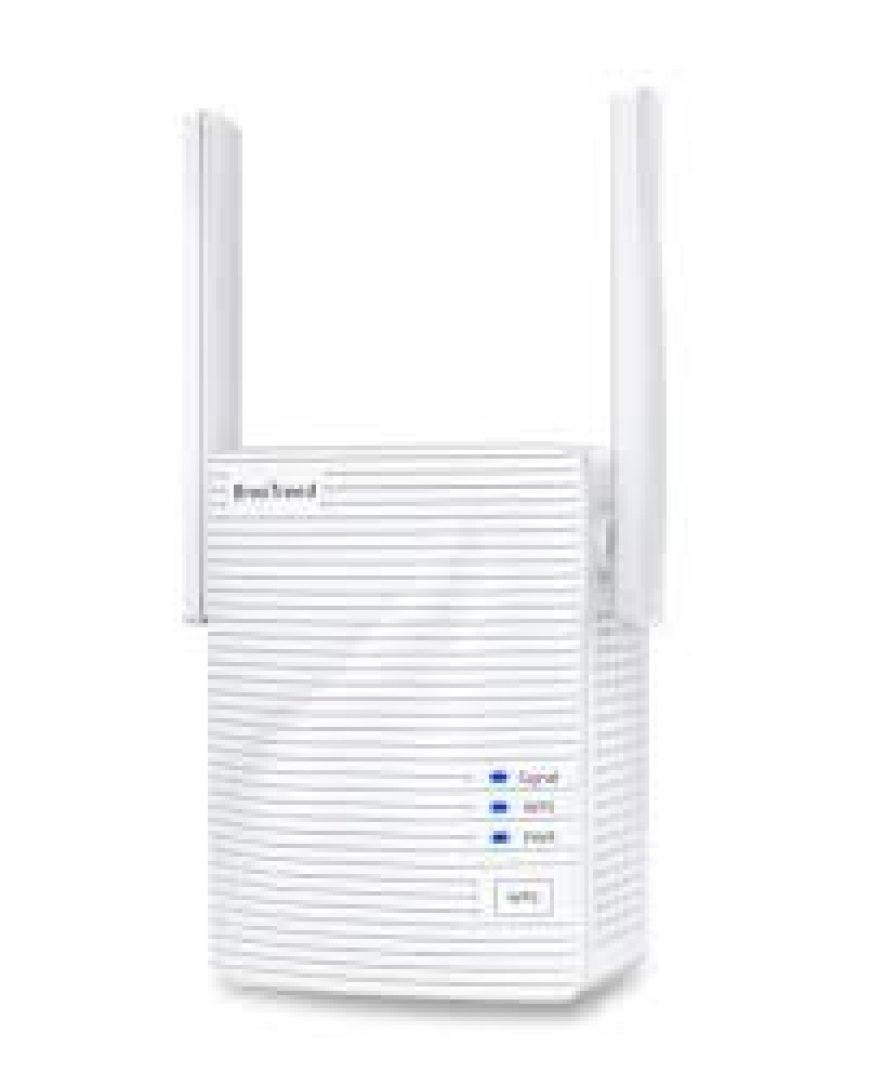
Step 2: Plug in Your Extender
Before starting the Brostrend setup, plug the extender into a power outlet near your main router. Wait for the power LED to turn either solid blue or green, indicating the proper working of the device and a strong connection.
If it still blinks red or flashes in an unusual pattern, press and hold the reset button for ten seconds to reset the device. Now the device will reach its default state after reset and now you can start with a clean setup and configuration once again.
Step 3: Press the WPS Button in the Right Order
Timing is everything with WPS:
-
First, press the WPS button on your main router.
-
Within 2 minutes, press the WPS button on the extender.
-
Wait for the connection — it may take up to 60 seconds.
-
Once connected, the signal LED on the BrosTrend device will turn solid — usually green or blue.
Re-do the process once again in case the light flash red or nothing changes. Older routers particularly need more than one tries for the devices to connect properly.
Step 4: Reposition for the Best Signal
After the configuration is done, unplug the extender and relocate it between your router and the place with poor signal. Don't move it too far from the router; if it is out of range, your connection will drop and you will have to start again.
Use the signal indicator lights on the extender to find the perfect spot for your device. Green or blue means a strong signal, red means too weak. Ideally, the location should be where the extender still has at least 60-70% signal strength from your main router.
Step 5: Confirm the Connection on Your Devices
Now that the extender is in place, search for the extended WiFi name on your phone, laptop, or smart devices. It’ll usually show up with your original network name plus a suffix like “_EXT” or “_PLUS.”
Connect to it and check the speed. If everything looks good — fast loading, stable connection, it means your extender is doing its job.
Step 6: Troubleshoot if It Doesn’t Work
Still not connected? Go through this quick checklist:
-
Make sure both your router and the extender support WPS.
-
Reboot both devices and try the WPS pairing again.
-
If WPS still fails, use the web-based Brostrend setup method by connecting to its default SSID and visiting the setup portal (usually at 192.168.0.254 or as shown in the user manual).
While WPS is the easiest among all methods, the manual setup isn’t too bad and offers more control over network settings.
Conclusion
The WPS method is the fastest way to link your Brostrend WiFi extender to your home network, but it depends on timing, signal strength, and device compatibility. If something doesn’t click the first time, don’t panic — just try again or switch to the manual Brostrend setup method.
Once connected, your WiFi range will improve instantly, giving your home or office the coverage it really needs. No dead zones. No messy wiring. Just a stronger, more reliable connection wherever you need it.
FAQs
1. What if my router doesn’t have a WPS button?
You can still complete the Brostrend setup manually by connecting to the extender's default WiFi and using the web-based setup interface.
2. How do I know the WPS pairing worked?
Check the LED indicator. A solid green or blue light usually confirms that your Brostrend WiFi extender has successfully connected to the router.
3. Why does the extender keep dropping the signal?
It could be too far from the router or in a location with heavy interference. Move it closer and watch the LED status to find a stronger signal.
4. Can I use the extender with a different router later?
Yes, just reset the extender and repeat the WPS pairing or manual Brostrend setup process with the new router.
5. Does WPS make my network less secure?
WPS is generally safe for home use but isn’t the most secure method. Once your extender is connected, you can disable WPS on your router for added security.
6. What if WPS pairing fails every time?
Reset both devices and try again. If it still doesn’t work, go with the web setup method. It’s slightly longer but often more reliable for tricky connections.


