


_Aleksey_Funtap_Alamy.jpg?width=1280&auto=webp&quality=80&disable=upscale#)


Get a Public URL to Localhost Using ngrok
Introduction When developing applications locally, testing webhooks, or showcasing your project to someone remotely, exposing your local server to the internet becomes essential. While there are several tools to achieve this, including localtunnel, serveo, and pagekite. Today we will focus on one of the most popular and reliable options — ngrok. ngrok creates secure tunnels from the public internet to your localhost, enabling developers to share and test applications without deploying them. Benefits Using ngrok comes with several advantages: Testing Webhooks: Tools like Stripe, GitHub, and Twilio require public URLs to send data. ngrok lets you test them locally. Remote Demos: You can share your local project with clients or teammates instantly, no need to deploy. Cross-device Testing: Easily test your web application on mobile devices using a public link. Enhanced Debugging: ngrok provides an inspection interface to see HTTP traffic, headers, and payloads in real-time. How to Install Installing ngrok is straightforward: Go to the official site: https://ngrok.com/download Download the version appropriate for your operating system. Unzip the file and place the ngrok executable in your preferred location. For example, on Unix-based systems: unzip /path/to/ngrok.zip mv ngrok /usr/local/bin How to Authenticate Before using ngrok, you need to authenticate your installation using your authtoken. This links ngrok to your account and enables advanced features. Sign up or log in to https://dashboard.ngrok.com Go to the "Your Authtoken" section. Copy the provided token. Then run this command in your terminal: ngrok authtoken Replace with the actual token from your dashboard. How to Use It Now you're ready to expose your local server to the internet. For example, if your local application is running on port 5000, run: ngrok http 5000 You’ll see output like this: Forwarding https://abc123.ngrok.io -> http://localhost:5000 You can now share the https://abc123.ngrok.io URL with anyone, and it will point directly to your local machine. Bonus Tip: You can monitor requests and responses in real-time by visiting http://127.0.0.1:4040 in your browser. This is ngrok’s web interface for traffic inspection. Conclusion With ngrok, exposing your local development environment becomes very easy. Whether you’re debugging APIs, testing integrations, or showcasing a project, it’s a must-have tool for modern developers.

Introduction
When developing applications locally, testing webhooks, or showcasing your project to someone remotely, exposing your local server to the internet becomes essential. While there are several tools to achieve this, including localtunnel, serveo, and pagekite. Today we will focus on one of the most popular and reliable options — ngrok.
ngrok creates secure tunnels from the public internet to your localhost, enabling developers to share and test applications without deploying them.
Benefits
Using ngrok comes with several advantages:
- Testing Webhooks: Tools like Stripe, GitHub, and Twilio require public URLs to send data. ngrok lets you test them locally.
- Remote Demos: You can share your local project with clients or teammates instantly, no need to deploy.
- Cross-device Testing: Easily test your web application on mobile devices using a public link.
- Enhanced Debugging: ngrok provides an inspection interface to see HTTP traffic, headers, and payloads in real-time.
How to Install
Installing ngrok is straightforward:
- Go to the official site: https://ngrok.com/download
- Download the version appropriate for your operating system.
- Unzip the file and place the ngrok executable in your preferred location.
For example, on Unix-based systems:
unzip /path/to/ngrok.zip
mv ngrok /usr/local/bin
How to Authenticate
Before using ngrok, you need to authenticate your installation using your authtoken. This links ngrok to your account and enables advanced features.
- Sign up or log in to https://dashboard.ngrok.com
- Go to the "Your Authtoken" section.
- Copy the provided token.
- Then run this command in your terminal:
ngrok authtoken
Replace with the actual token from your dashboard.
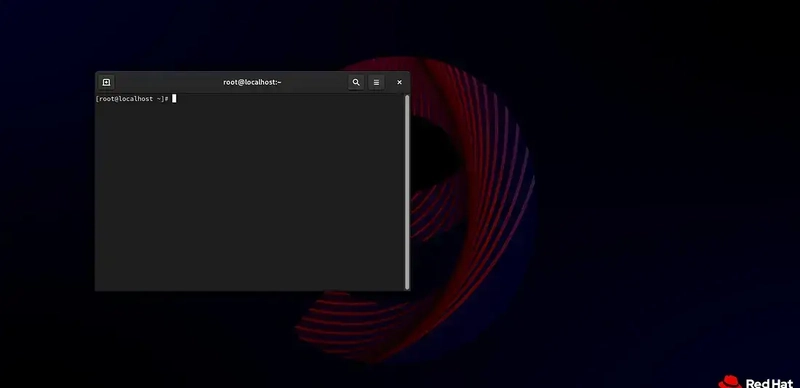
How to Use It
Now you're ready to expose your local server to the internet.
For example, if your local application is running on port 5000, run:
ngrok http 5000
You’ll see output like this:
Forwarding https://abc123.ngrok.io -> http://localhost:5000
You can now share the https://abc123.ngrok.io URL with anyone, and it will point directly to your local machine.
Bonus Tip: You can monitor requests and responses in real-time by visiting http://127.0.0.1:4040 in your browser. This is ngrok’s web interface for traffic inspection.
Conclusion
With ngrok, exposing your local development environment becomes very easy. Whether you’re debugging APIs, testing integrations, or showcasing a project, it’s a must-have tool for modern developers.