


Understanding Linux Package Manager; Deploying A Lamp Stack in Linux
Dearest readers! Lets build some cloud muscles by delving into Linux. In Linux, a package manager is a software tool that automates the process of installing, upgrading, configuring, and removing software packages, simplifying software management and ensuring dependencies are met. Without further ado, lets go to the clouds!! let us begin by downloading Ubuntu's package manager. To do this, you need to download Ubuntu Multipass. Hoping you have downloaded multipass successfully, you can launch it. The multipass should look like this: After the multipass homepage, You will need to download an Ubuntu image. Based on my experience, you should download any of the Ubuntu 24.04LTS to Ubuntu 20.04LTS. Your network and system configuration may pose a problem here. After the downloaded the image, open the instance on the left hand pane of the multipass app. Click on new terminal. To install anything in Ubuntu, you need to be on admin mode. The command for that is "Sudo Su". Now if you do not want to be on admin mode (root mode)but still want to perform an installation, lets say you want to install NGINX, "Sudo apt install NGINX" To bypass any prompt stopping the installation, the command is "Sudo apt install -y"; this automatically installs any application without asking a Yes or No NOTE: The rule behind every command is "Package manager name" >verb >name of what to install; That is "Apt >Install or Delete or upgrade or update >Nginx or Apache or PHP". However, provided you're not in root mode, you will need to add "Sudo" to every command. Sudo gives you that administrative privilege. DEPLOYING A LAMP STACK The LAMP stack is a robust, open-source software suite used to build and host dynamic websites and web applications. Its components work synergistically to deliver a scalable and cost-effective development environment. Core Components Linux: The operating system layer, providing a secure and stable foundation for the stack. Popular choices are Ubuntu, CentOS, Debian. Apache: A high-performance web server that processes HTTP requests and serves web content. MySQL/MariaDB: A relational database management system (RDBMS) for structured data storage. Enables complex queries, transactions, and user access control. PHP: A server-side scripting language for creating dynamic content (e.g., user logins, forms). Why Choose LAMP? Cost-Effective: Fully open-source with no licensing fees. Flexibility: Supports numerous plugins, frameworks (e.g., Laravel, Symfony), and CMS platforms (e.g., WordPress). Community Support: Extensive documentation and troubleshooting resources. Cross-Platform: Works on most operating systems. Step-by-Step Deployment Step 1: System Update To do this, type "sudo apt update && sudo apt upgrade -y" Step 2: Install Apache Web Server 1: Install Apache: "sudo apt install apache2 -y" 2: Enable and start the service: "sudo systemctl enable apache2 --now" To know if Apache2 is installed, type "ip addr show." Copy the IP address and paste on a browser Step 3: Install MySQL Database 1: Type: "sudo apt install mysql-server -y" 2: Secure MySQL: "sudo mysql_secure_installation" Step 4: Install PHP Type: "sudo apt install php libapache2-mod-php php-mysql php-cli php-curl php-json -y". Oops I missed some of the code
Dearest readers! Lets build some cloud muscles by delving into Linux. In Linux, a package manager is a software tool that automates the process of installing, upgrading, configuring, and removing software packages, simplifying software management and ensuring dependencies are met.
Without further ado, lets go to the clouds!!
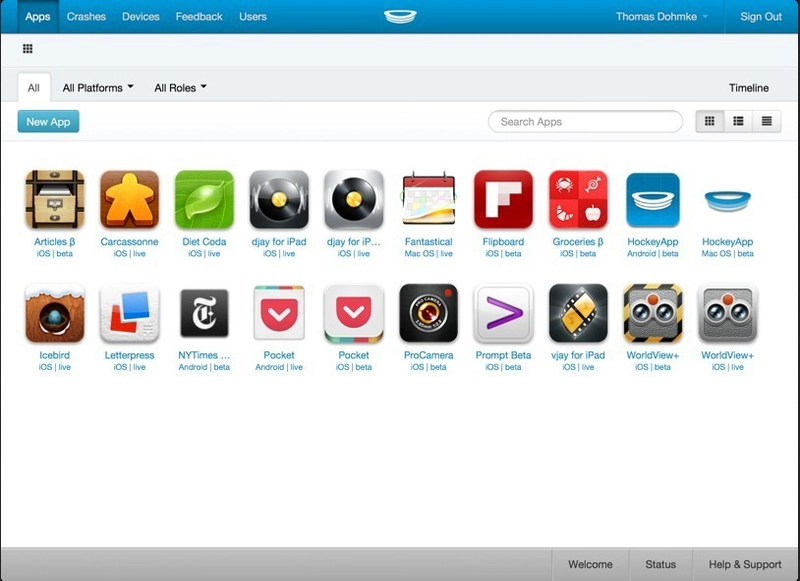
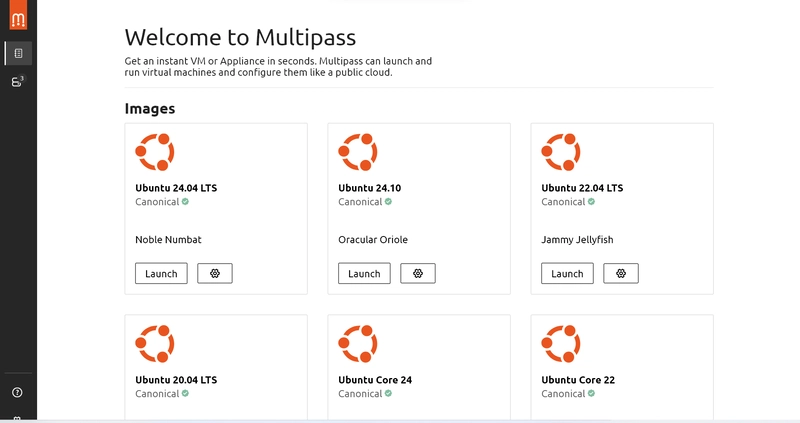
let us begin by downloading Ubuntu's package manager. To do this, you need to download Ubuntu Multipass. Hoping you have downloaded multipass successfully, you can launch it. The multipass should look like this:
After the multipass homepage, You will need to download an Ubuntu image. Based on my experience, you should download any of the Ubuntu 24.04LTS to Ubuntu 20.04LTS. Your network and system configuration may pose a problem here.

After the downloaded the image, open the instance on the left hand pane of the multipass app. Click on new terminal.

To install anything in Ubuntu, you need to be on admin mode. The command for that is "Sudo Su". Now if you do not want to be on admin mode (root mode)but still want to perform an installation, lets say you want to install NGINX, "Sudo apt install NGINX"
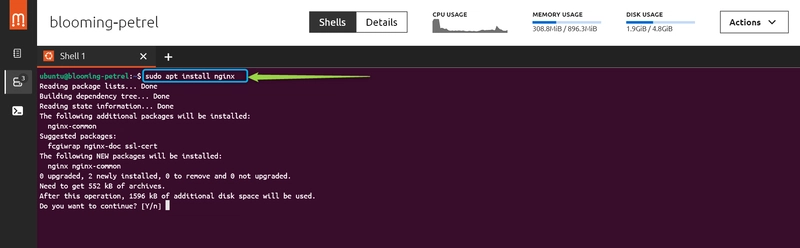
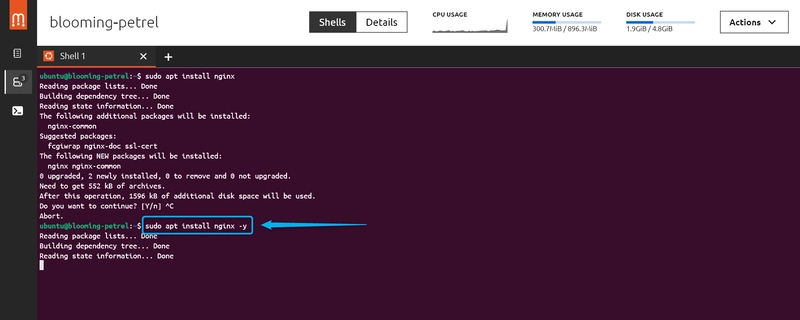
To bypass any prompt stopping the installation, the command is "Sudo apt install -y"; this automatically installs any application without asking a Yes or No
NOTE: The rule behind every command is "Package manager name" >verb >name of what to install; That is "Apt >Install or Delete or upgrade or update >Nginx or Apache or PHP". However, provided you're not in root mode, you will need to add "Sudo" to every command. Sudo gives you that administrative privilege.
DEPLOYING A LAMP STACK
The LAMP stack is a robust, open-source software suite used to build and host dynamic websites and web applications. Its components work synergistically to deliver a scalable and cost-effective development environment.
Core Components
Linux: The operating system layer, providing a secure and stable foundation for the stack. Popular choices are Ubuntu, CentOS, Debian.
Apache: A high-performance web server that processes HTTP requests and serves web content.
MySQL/MariaDB: A relational database management system (RDBMS) for structured data storage. Enables complex queries, transactions, and user access control.
PHP: A server-side scripting language for creating dynamic content (e.g., user logins, forms).
Why Choose LAMP?
Cost-Effective: Fully open-source with no licensing fees.
Flexibility: Supports numerous plugins, frameworks (e.g., Laravel, Symfony), and CMS platforms (e.g., WordPress).
Community Support: Extensive documentation and troubleshooting resources.
Cross-Platform: Works on most operating systems.
Step-by-Step Deployment
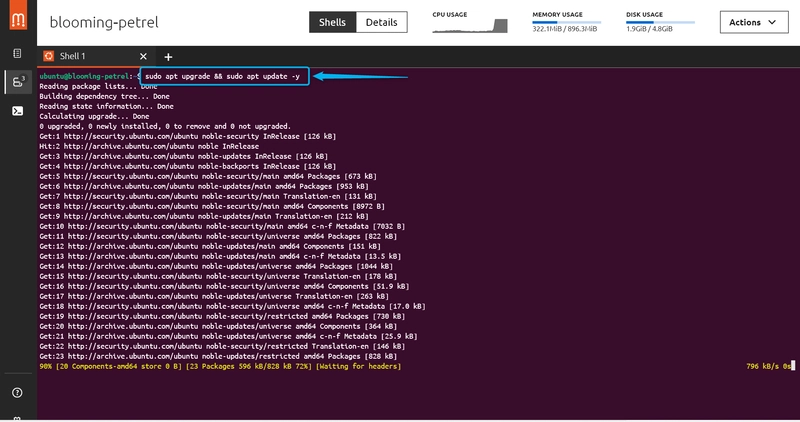
Step 1: System Update
To do this, type "sudo apt update && sudo apt upgrade -y"
Step 2: Install Apache Web Server
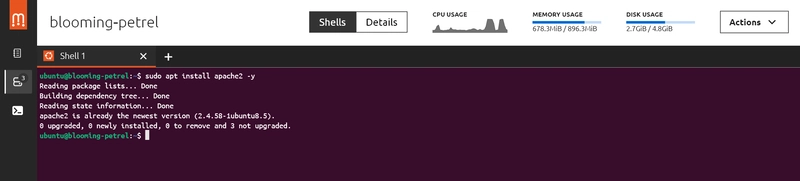
1: Install Apache: "sudo apt install apache2 -y"
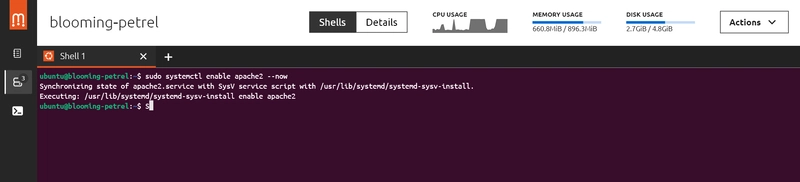
2: Enable and start the service: "sudo systemctl enable apache2 --now"
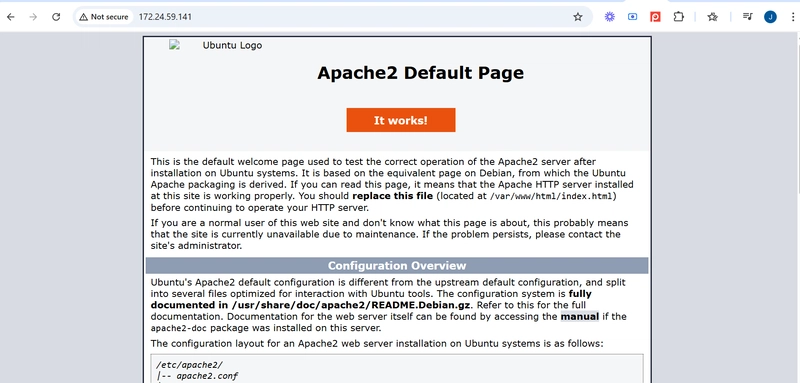
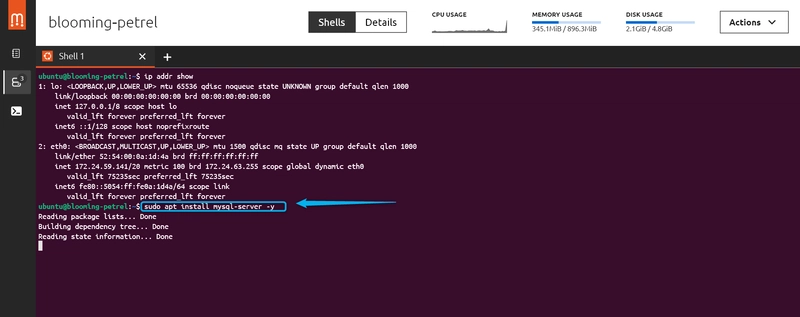
To know if Apache2 is installed, type "ip addr show."
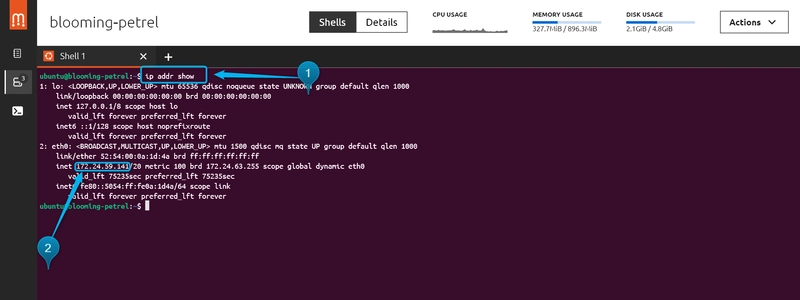
Copy the IP address and paste on a browser
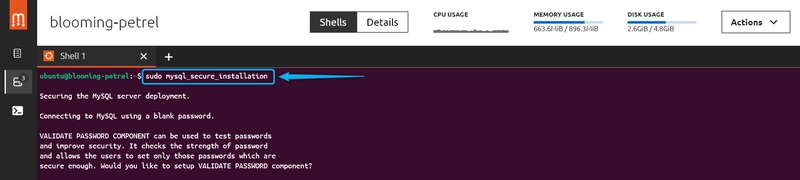
Step 3: Install MySQL Database
1: Type: "sudo apt install mysql-server -y"
2: Secure MySQL: "sudo mysql_secure_installation"
Step 4: Install PHP
Type: "sudo apt install php libapache2-mod-php php-mysql php-cli php-curl php-json -y". Oops I missed some of the code