


Sourdough Starter
Learn how to make an active Sourdough Starter from scratch using all-purpose flour and water! Discover EVERYTHING you need to know in this easy guide. The post Sourdough Starter appeared first on Budget Bytes.
People have worked with sourdough for thousands of years, long before there were little packets of sourdough starter available for sale in stores. (The oldest known sourdough bread dates back to 3700 BC!) So, fear not! I promise that making an active sourdough starter from scratch is much easier than you’d think! I’ve tested just about every possible method, and I’ve come to realize this process can be pretty forgiving. All you need is flour, water, a bit of patience, and maybe a touch of faith that nature knows what she’s doing.
Easy Sourdough Starter Recipe
Sourdough starters might sound a little mysterious at first (like some bubbling science experiment on your counter!). Really, it’s just a fermented mix of flour and water that thrives on the natural wild yeast found in the flour and the environment (yep, there’s yeast in the air!). For about a week or two, you’ll “feed” it, and soon, it’ll become lively, bubbly, and ready to bake with. You’ll use this mixture as a natural leavening agent when making sourdough bread, creating that deliciously tangy flavor and chewy texture with no commercial yeast needed. And, once you’ve got it going, you can use it for so much more than just bread. Pancakes, crackers, biscuits…don’t even get me started! (Stay tuned for my super easy, budget-friendly sourdough bread recipe coming soon!)
The method I use below is for a 100% hydration starter, which means it’s made with equal parts flour and water. This is by far the easiest, most beginner-friendly way to create a starter, and it’s the perfect starting point for just about anyone. My only advice? Read through all my tips and notes below before you dive in!
Sourdough Starter
Equipment
- Kitchen Scale or Measuring Cups
- 1 Large Glass Mason Jar
- Cheesecloth or a Coffee Filter
- Elastic Band
Ingredients
- 75 g water (or ½ cup water)* $0.00
- 75 g all-purpose flour (or ½ cup flour) $0.07
Instructions
Directions for Day 1
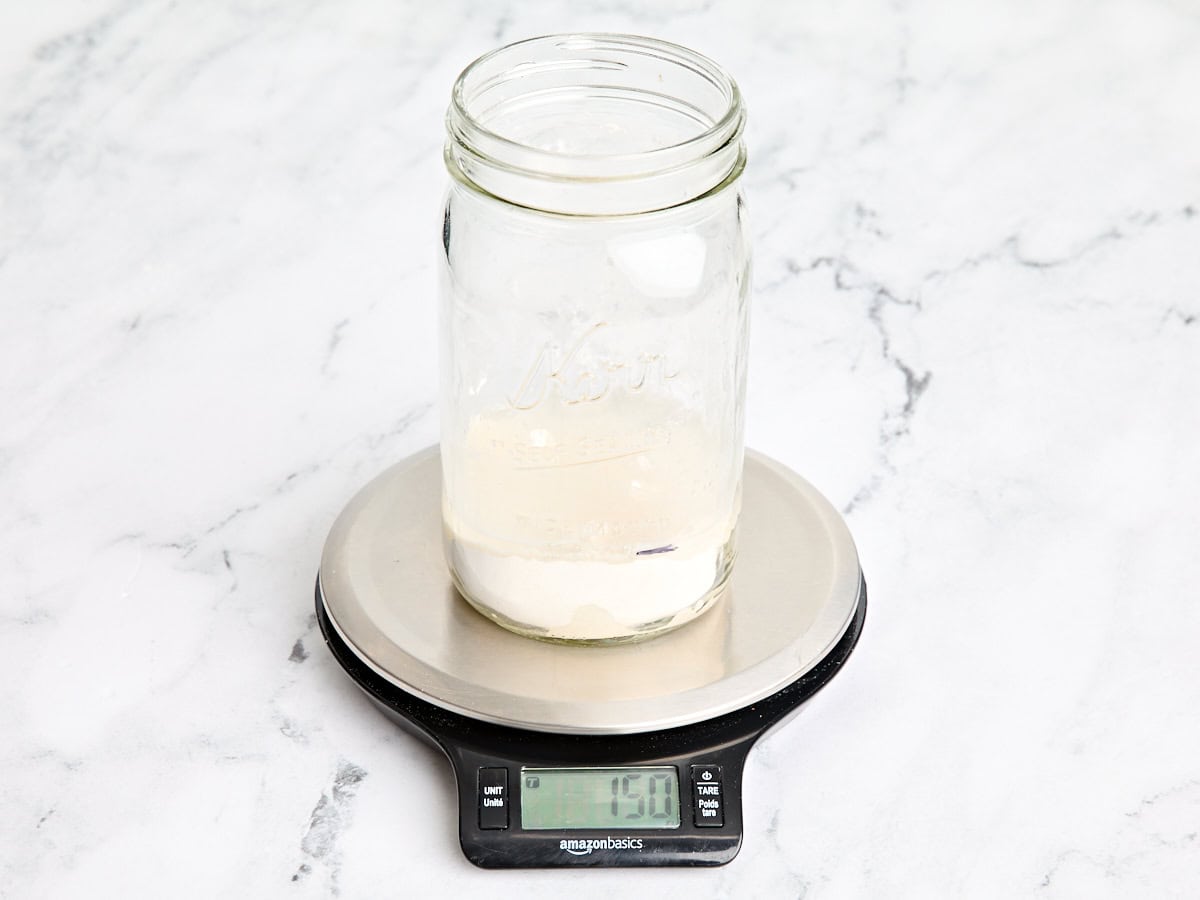
- Sanitize a large mason jar and zero it out (or “tare”) on a kitchen scale set to measure grams.**
- Add 75g of all purpose flour to the jar. For me, this was ½ cup of flour.
- Zero out the scale again by pressing the “tare” button, and add 75g of water. If you don’t have a kitchen scale, just use a 1:1 ratio of water to flour throughout the entire process. So, if you add ½ cup of flour, add ½ cup of water.
- Stir the flour and water together with a clean spoon and cover the jar with a piece of cheesecloth, a coffee filter, or a clean, dry paper towel.*** Secure the cloth with an elastic or butcher twine. You want to make sure you give it a good stir—oxygen is necessary when making sourdough starter!
- Let it sit on the counter for 24 hours in a 75-80 degree warm spot. I like to make a little line on the glass jar with a permanent marker so I can see how much my starter grows as it develops over the course of the week.
Directions for Day 2
- Give your starter a stir with a clean spoon. Remember, oxygen is good for the process! Let it sit for Day 2 undisturbed in the 75-80 degree warm spot while it develops a bit more. You may see bubbles on day 2, or you may not. Trust the process!
Directions for Day 3 to (potentially) Day 14
- It’s feeding time! Remove half of the sourdough starter from the jar. This is your discard! Use a spoon and scoop it out…eyeball what’s “half”, or use your scale. Remember to factor in the weight of the empty jar if you’re using a scale to get the exact number.
- To the jar, add 75g of all-purpose flour and 75g of water. Mix with a clean spoon until completely smooth. It will look like thick pancake or muffin batter.
- Cover with a coffee filter, paper towel, or cheese cloth with an elastic band and let it sit on the countertop for 12-24 hours.
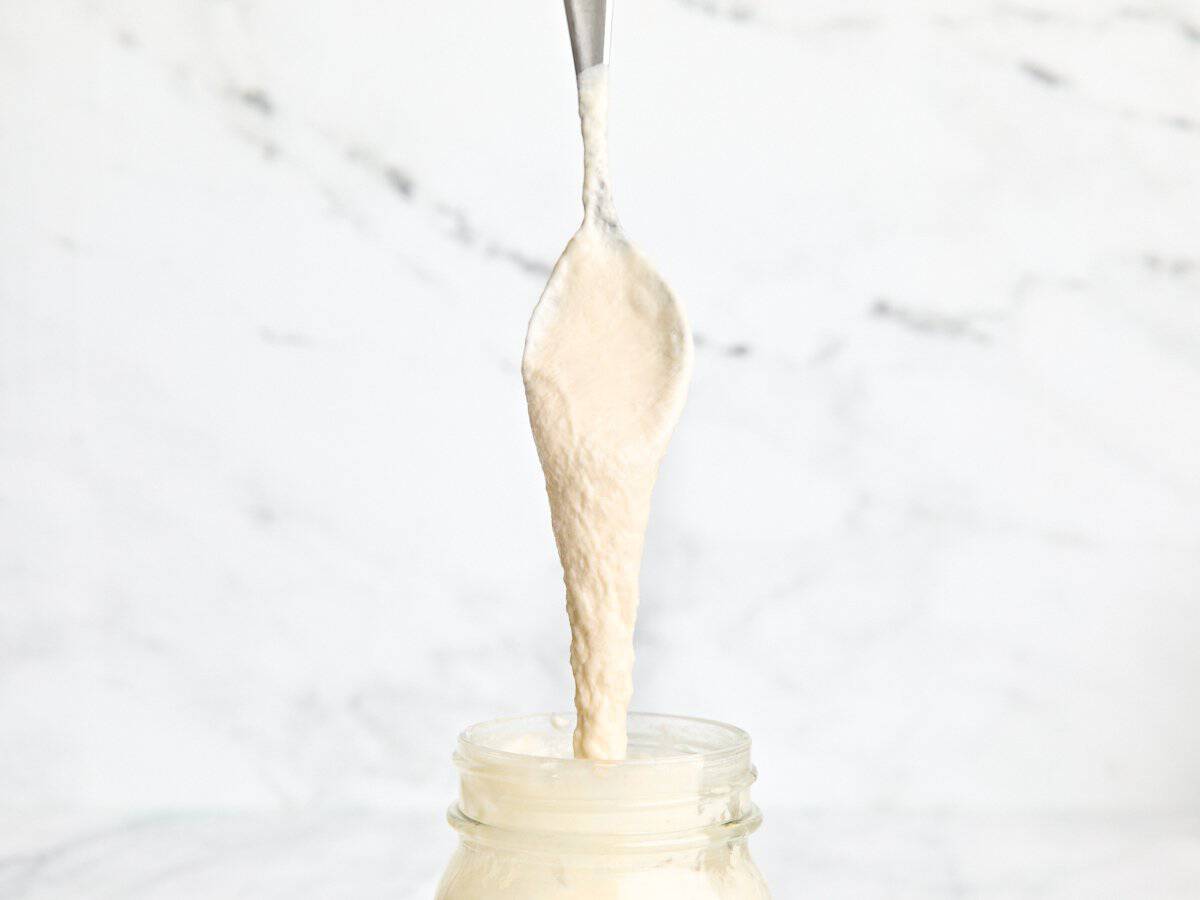
- Repeat these steps over and over until it has doubled in size (at least 250-300g), has consistent bubbles, smells pleasantly yeasty, and appears to be the texture of marshmallow fluff!
- Name your starter! It’s the “mother” of every loaf of bread you’ll make from here on out…Plus, it’s bad luck if you don’t! (Mine are named Agnes and Rita after my grandmothers!)
See how we calculate recipe costs here.
Notes
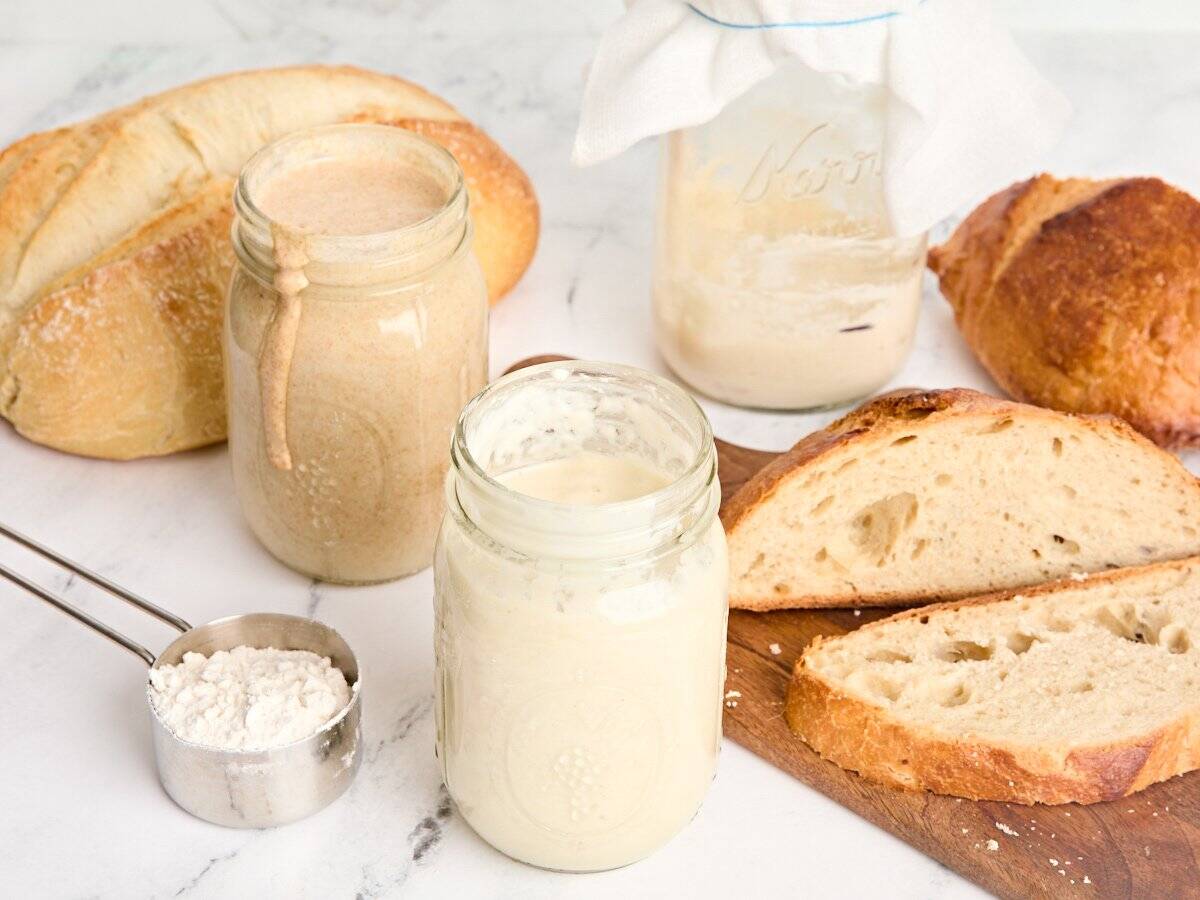
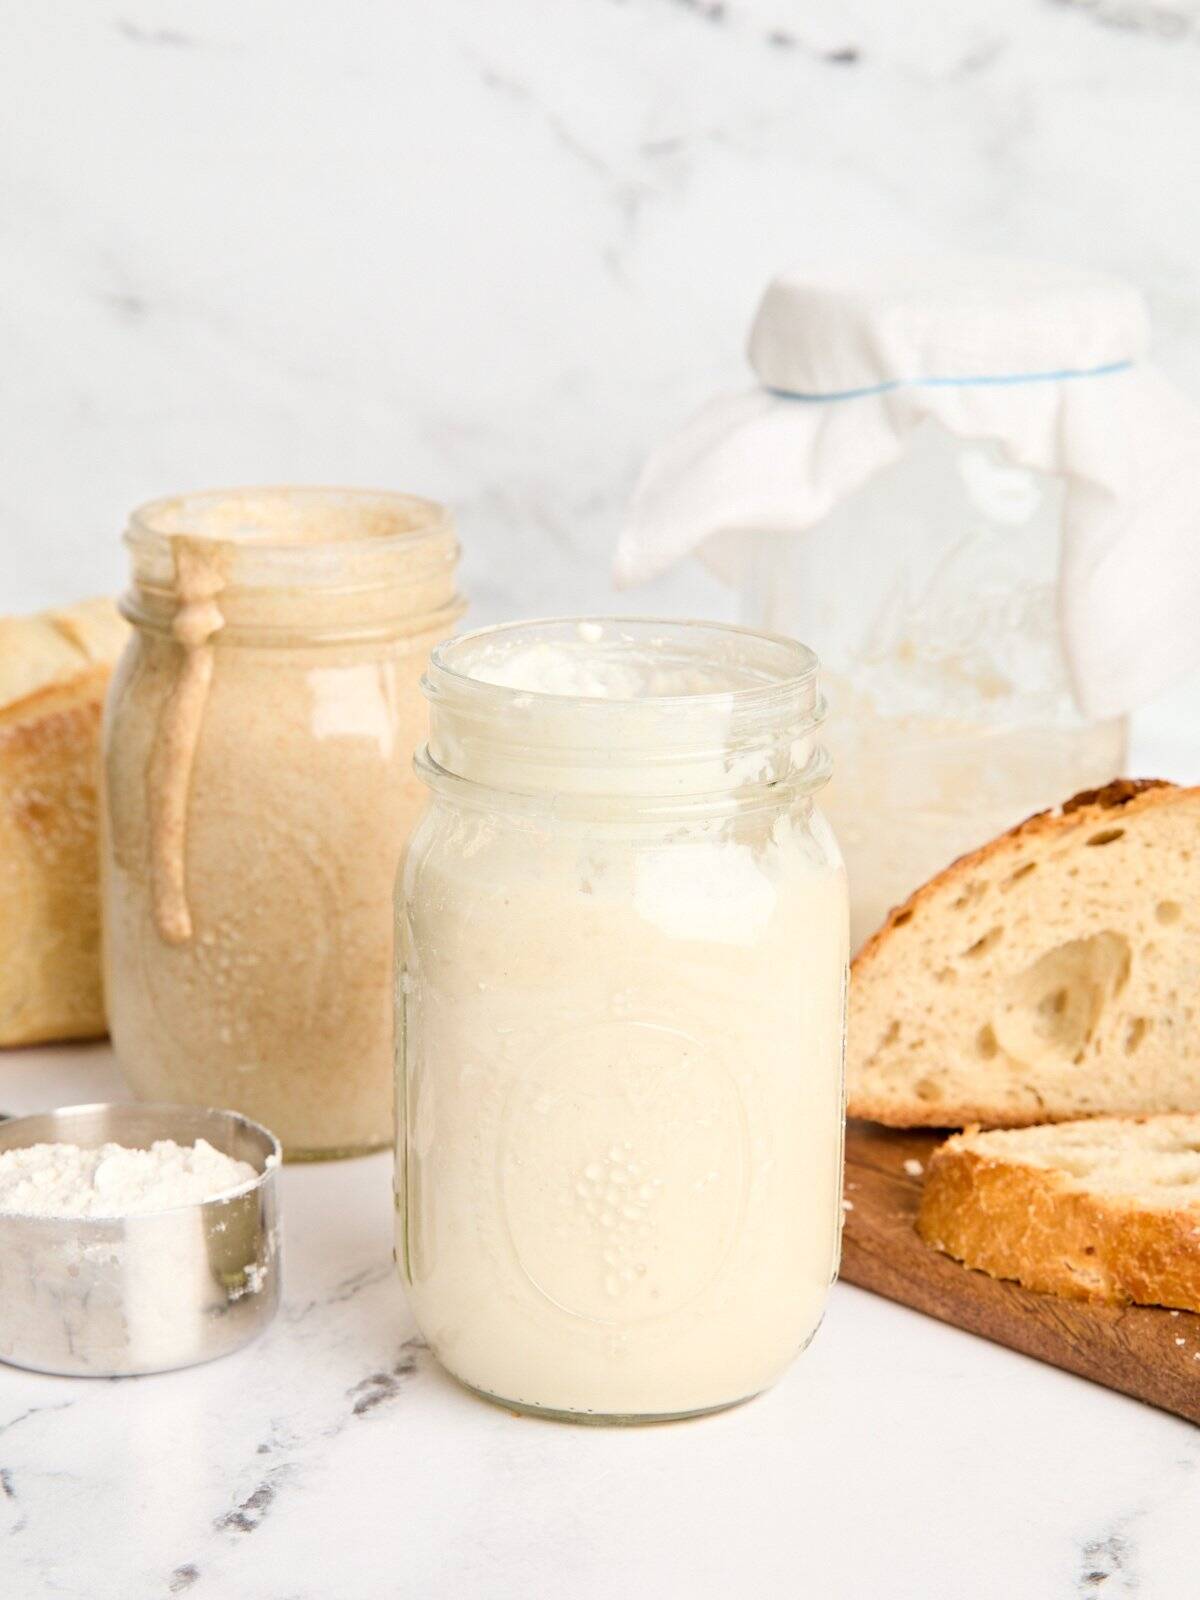
A NOTE ON THE FLOUR USED
You’ll notice in the photos I have 2 kinds of starters shown. One was started with whole wheat flour, and the other was pure all-purpose flour. A lot of people like to make theirs with whole wheat at first, then feed after the initial creation with all-purpose or bread flour. This is really up to you. I have made successful starters following all these methods, including using bleached and unbleached all-purpose flour. It’ll take a lot of trial and error for you to realize what you personally prefer—which is okay because making a sourdough starter is CHEAP!PREP TIME
The total prep time can take anywhere from 1 to 2 weeks, depending on various factors like the temperature of your kitchen. See my recipe success tips under the step-by-step photos below for more information.how to make a Sourdough Starter step-by-step photos
Directions for Day 1
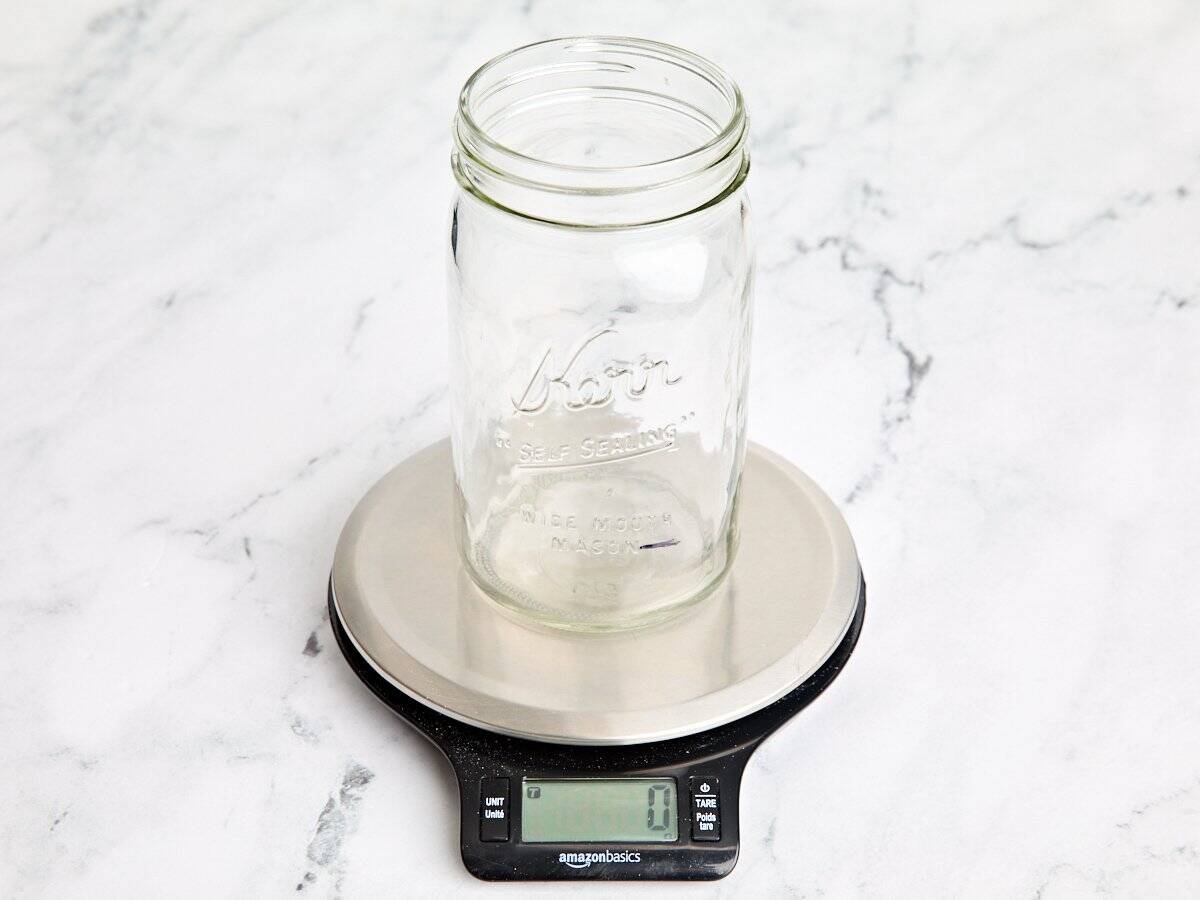
Set a large, sanitized mason jar on a kitchen scale and make a note of the weight (knowing how much your empty jar weighs will help in a few days’ time when it’s feeding time!) Once you’ve made a note of the weight of your jar, zero it out (by clicking the tare button) to set the scale to 0.
You can ignore this step if you won’t be using a kitchen scale.
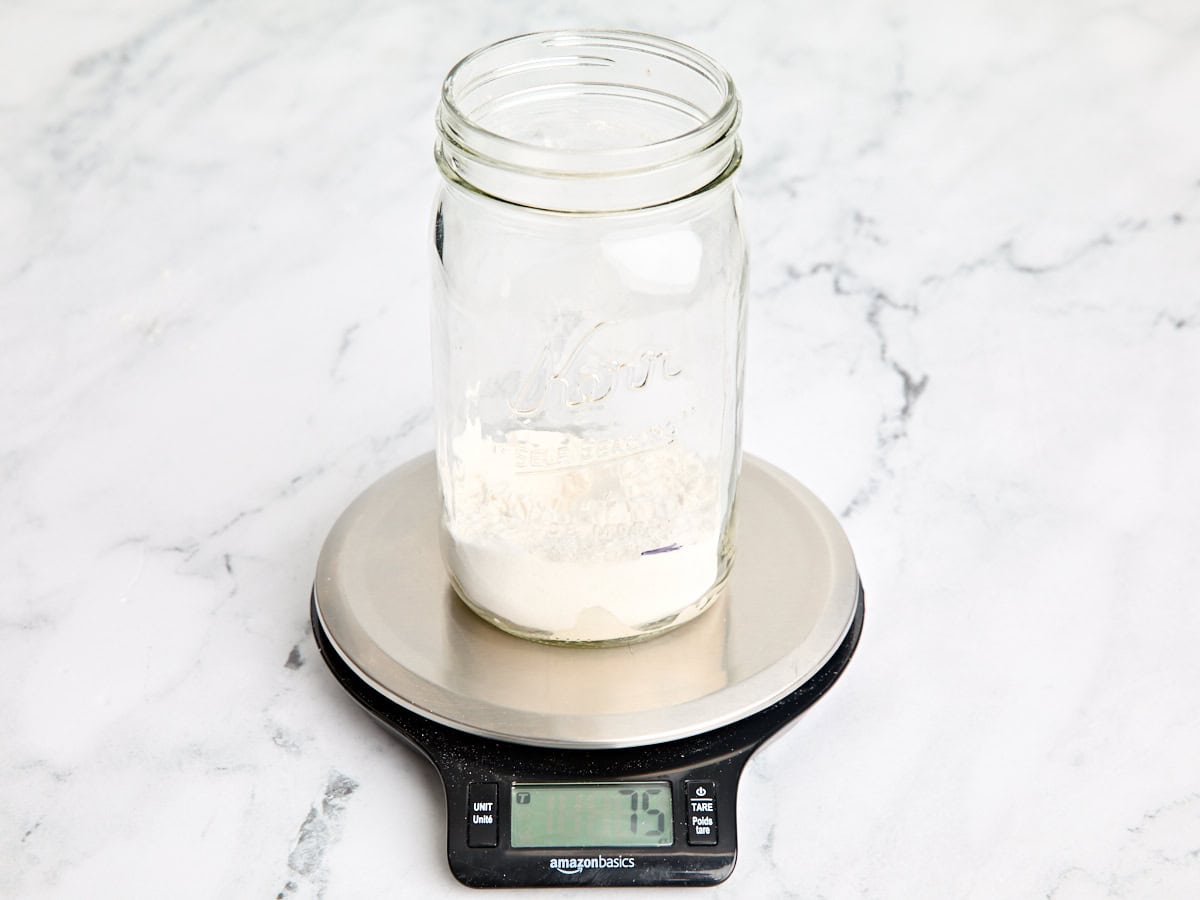
Add 75g of all purpose flour to the jar. This was equal to ½ cup of flour for me.
Now add 75g of water. If you’re not using a kitchen scale, you want to use a 1:1 ratio of water to flour throughout the whole process. So, if you use ½ a cup of flour, you should also use ½ a cup of water.
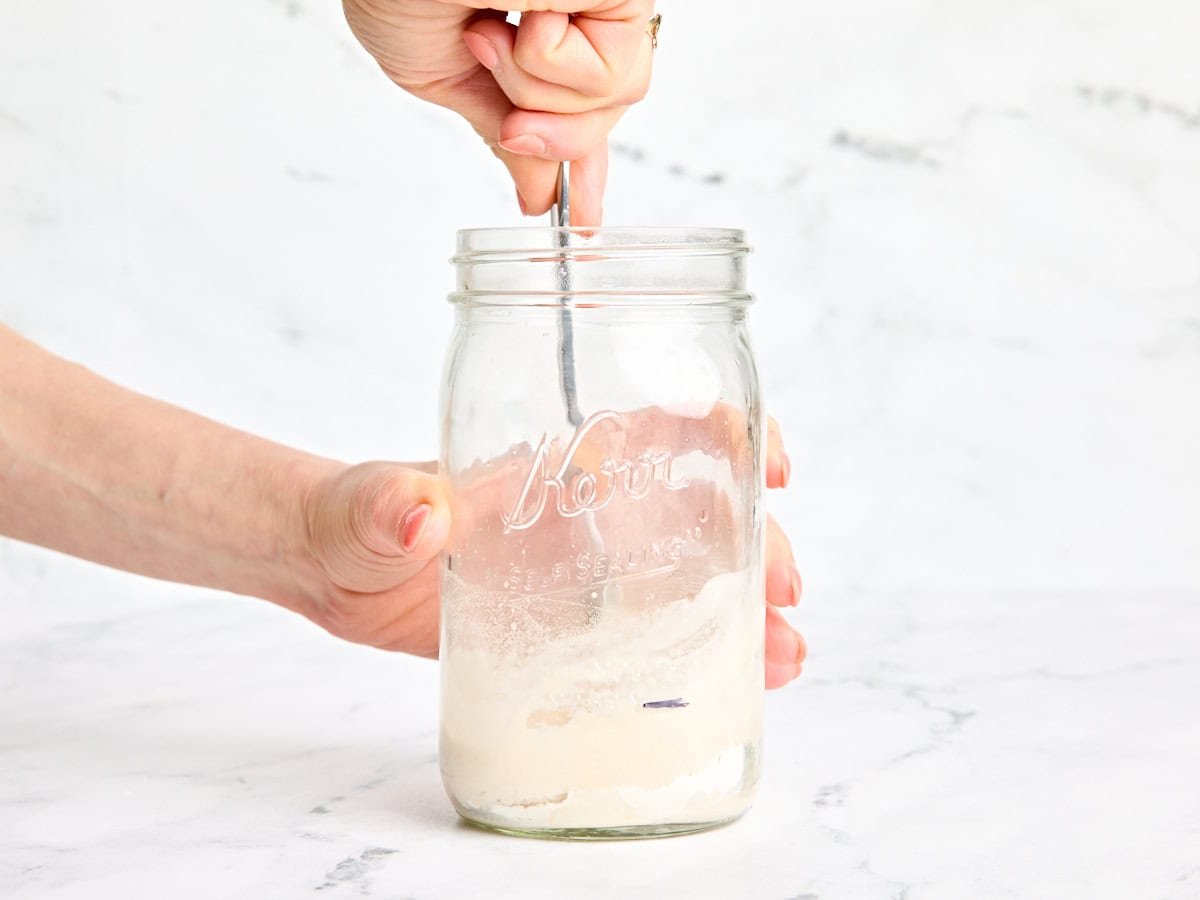
Use a clean spoon to stir your flour and water together really well. Don’t be shy—give it a good mix! You want to make sure there are no dry pockets of flour hiding at the bottom of the jar. Stirring not only helps everything combine, but it also introduces oxygen, which supports the growth of wild yeast in the early days.
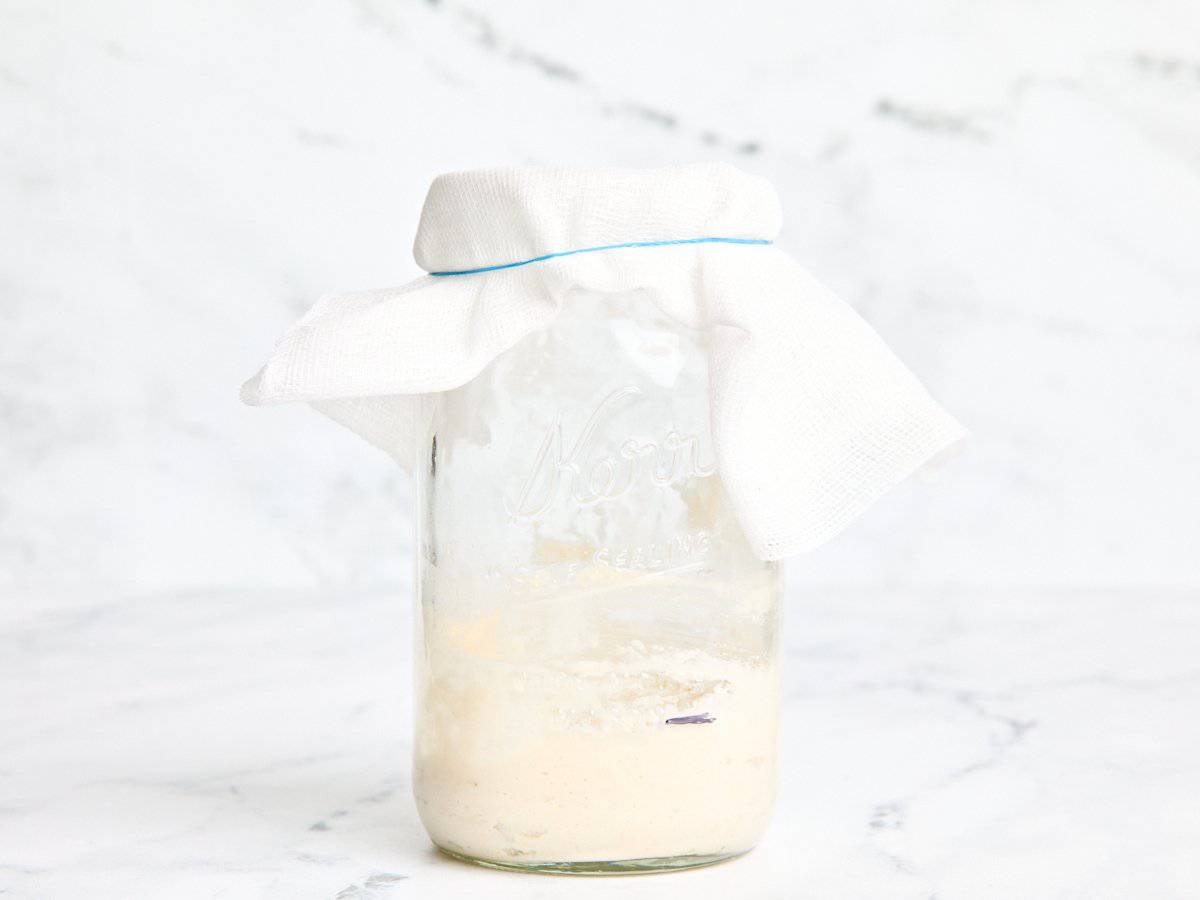
Now, cover your jar with a piece of cheesecloth, a coffee filter, or a clean, dry paper towel. I personally prefer using cheesecloth or a coffee filter to avoid any paper towel fuzz from getting into the jar, but a clean, dry paper towel will work in a pinch! Use elastic or butcher twine to secure the cloth.
Let your jar sit on the counter, as is, in a 75-80 degree warm spot for 24 hours. I draw a little line on the outside of the jar using a permanent marker so I can see how much my starter grows as it develops over the course of the week. You could also use a rubber band or tape to mark your starting point.
Directions for Day 2
After 24 hours, stir everything with a clean spoon. We really want to incorporate as much air as possible here to help kickstart the fermentation process! Secure the cloth again with an elastic or butcher twine and let it sit for Day 2 undisturbed in the 75-80 degree warm spot. You might see some bubbles on this day…or you might not. Trust the process!
Directions for Day 3 to (potentially) Day 14
- Now it’s feeding time! Remove half of your starter from your jar using a spoon. This is known as your discard. You can either use your scale (factoring in the weight of your jar) to remove exactly half or eyeball what’s ‘half.’ Removing some before feeding helps keep it at a manageable size and ensures that the wild yeast and bacteria have enough fresh food (aka flour!) to stay active and happy.
- Add 75g of all-purpose flour and 75g of water to the jar. Give it a mix with a clean spoon until smooth. It’ll resemble thick pancake batter at this point.
- Cover the jar with a cheesecloth, coffee filter, or paper towel, and secure it with an elastic band. Place it back in its warm spot for 12-24 hours.
- Keep repeating the discard and feeding process over and over until it has doubled in size (it should weigh at least 250-300g, again factoring in the weight of the empty jar), has consistent bubbles, smells yeasty, rises and falls predictably, and has the texture of marshmallow fluff.
- I also recommend naming your starter! It’s the “mother” of every loaf of bread you’ll make from here on out…plus, it’s bad luck if you don’t!