


In this blog post we will see how to connect OneEntry Headless CMS with Next.js.
Table of Contents Introduction to OneEntry Headless CMS Setting up your OneEntry Project Creating a Next.js App Installing OneEntry Headless CMS SDK Generating an API Token Connecting OneEntry with Next.js Conclusion and Next Steps Introduction to OneEntry Headless CMS Alright, so OneEntry is a Headless CMS made for developers who actually build things. It doesn’t lock you into a specific frontend or make you follow someone else’s idea of structure. You set up your own models, manage content through a clean dashboard, and pull it into your app using an API. That’s it — no unnecessary layers, no opinions. Just something that works the way you'd expect. The setup of OneEntry Headless CMS with Next.js projects is super easy. You get tokens to connect your app securely, and it even has support for localization. Honestly, it just works the way you’d expect a modern CMS to work — fast, no fluff, and very developer-focused. If you’re building anything dynamic — blog, app, anything — and you want the content part to be flexible and easy to manage, OneEntry is solid. OneEntry is also providing free access to its study plan for 14 days when you signup. Setting up your OneEntry Project Alright, first let's create an account with OneEntry Headless CMS, Head over to OneEntry Headless CMS. Now click on the Signup Button Now on the signup page enter your email, phone number, name and accept the privacy policy and accept the public offer and hit the get the code button. Now you also need to confirm your email address in order to create a brand new project on OneEntry Headless CMS. You might have received an email verification mail on your email, like this. Click on the button to confirm email to verify your email. If you are not able to find the email you can use the dialog in OneEntry Headless CMS to resend the email. Once you have verified your email you also get promo code for free access to study plan, just like this. Now after successful signup and email verification you would be in your projects screen. Let's create a new project by clicking on the Create new project button, if you are not on the projects screen then you can head over to this url to create the project https://account.oneentry.cloud/projects Now on the project creation screen add a project name, add a subdomain name which is unique and select a plan that suits your needs. We have got different plans here, Study Basic Standard Premium The study plan doesn't have access to the following features, Events (Push notifications, email, and WebSocket notifications) User activation Integration of payment systems meanwhile the other plans have access to all of these features and increased limits. Moreover you also get pre-made templates for faster setup from Plans starting from Basic and higher. You can also add a custom domain to access OneEntry Headless CMS. You need to add an A record in your domain control panel. Now scroll down and click on the create button, Now you will see an order payment modal, click on the pay button to pay for your selected plan and create the project and get started, Now you will see a stripe payment screen, add your payment details and pay for your plan in order to continue, Now after a few minutes you will receive an email for your credentials, like this Now hit the URL of your project from the mail and enter the credentials you received by email and hit Enter Now you would see OneEntry Project Dashboard after successful login, like this Now our OneEntry Headless CMS setup is complete, let's setup our Next.js app. Creating a Next.js App Open up your terminal and type in the following commands, Setup Next.js app npx create-next-app@latest oneentry-nextjs It will show some options for the setup, select these options, Installing OneEntry Headless CMS SDK Now let's install OneEntry Headless CMS SDK npx install oneentry This will install OneEntry Headless CMS SDK which is used to interact with the CMS. Generating an API Token Alright, now let's create and Setup an API token from OneEntry Headless CMS to our Next.js app. This API token would be used to interact with OneEntry Headless CMS using the OneEntry SDK. Step 1: Head over to Settings in your OneEntry Headless CMS Project Dashboard, Step 2: Click on, App Tokens on the Settings Page to create an App Token which will help us interact with our OneEntry Headless CMS Step 3: Now on the App Tokens Page, you will see a Generate App Tokens Section, Add the App name value Add an Expiry Date Click on the Create button to generate a token Now you can see a token generated in the table. Step 4: Click on the eye icon to copy that token, Step 5: You will see a modal where our token is visible, click on the copy button to copy the token to your clipboard. Connecting One
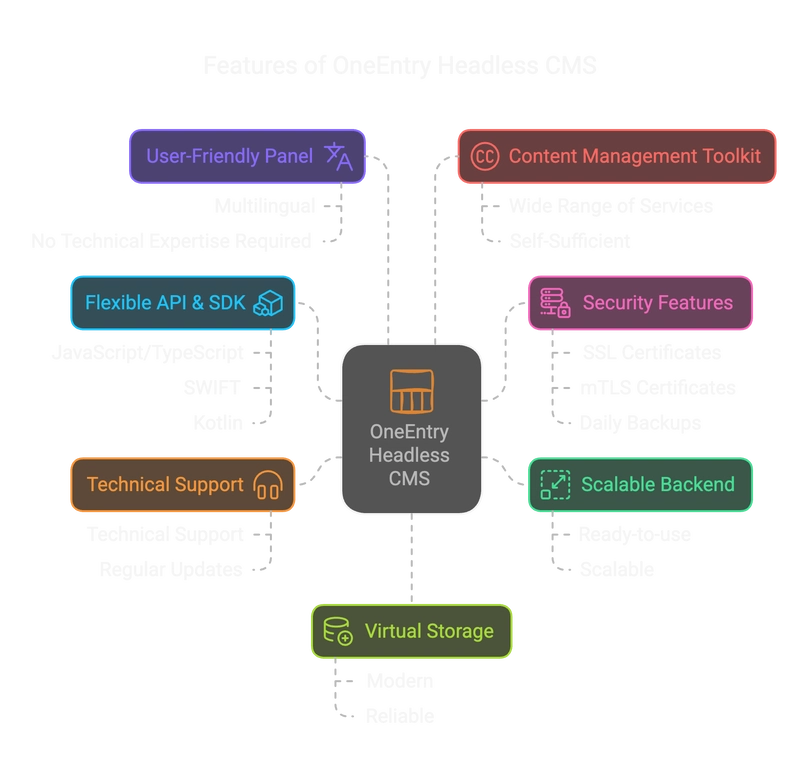
Table of Contents
- Introduction to OneEntry Headless CMS
- Setting up your OneEntry Project
- Creating a Next.js App
- Installing OneEntry Headless CMS SDK
- Generating an API Token
- Connecting OneEntry with Next.js
- Conclusion and Next Steps
Introduction to OneEntry Headless CMS
Alright, so OneEntry is a Headless CMS made for developers who actually build things. It doesn’t lock you into a specific frontend or make you follow someone else’s idea of structure. You set up your own models, manage content through a clean dashboard, and pull it into your app using an API. That’s it — no unnecessary layers, no opinions. Just something that works the way you'd expect.
The setup of OneEntry Headless CMS with Next.js projects is super easy. You get tokens to connect your app securely, and it even has support for localization. Honestly, it just works the way you’d expect a modern CMS to work — fast, no fluff, and very developer-focused.
If you’re building anything dynamic — blog, app, anything — and you want the content part to be flexible and easy to manage, OneEntry is solid.
OneEntry is also providing free access to its study plan for 14 days when you signup.
Setting up your OneEntry Project
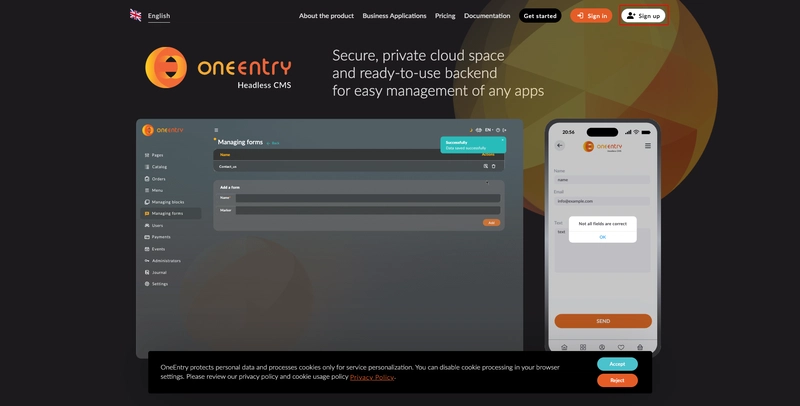
Alright, first let's create an account with OneEntry Headless CMS,
Head over to OneEntry Headless CMS.
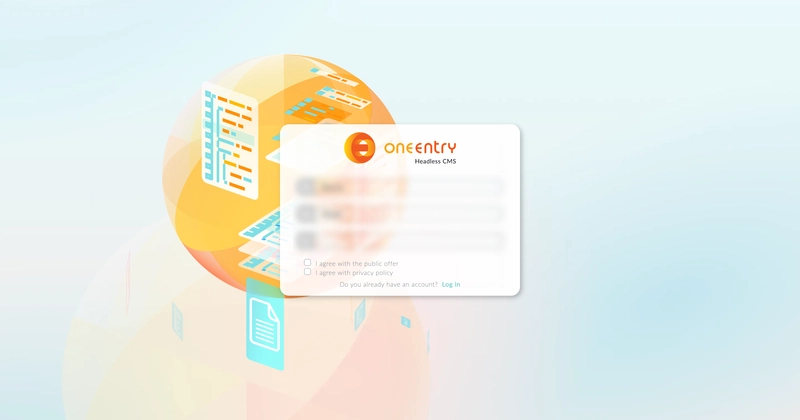
Now click on the Signup Button
Now on the signup page enter your email, phone number, name and accept the privacy policy and accept the public offer and hit the get the code button.
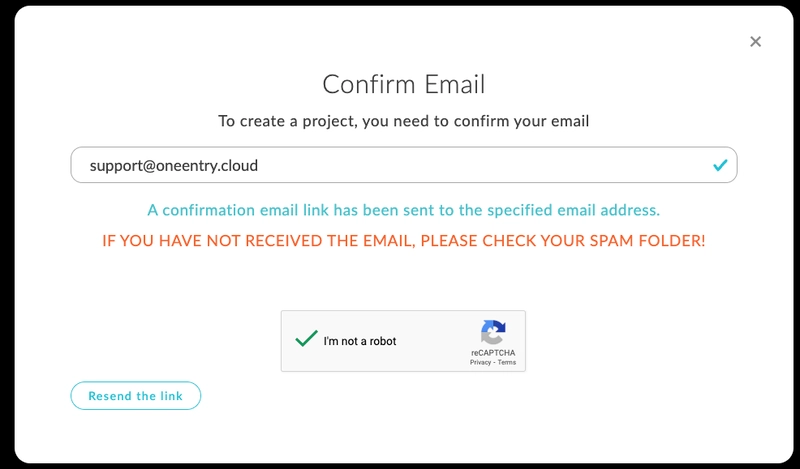
Now you also need to confirm your email address in order to create a brand new project on OneEntry Headless CMS.
You might have received an email verification mail on your email, like this. Click on the button to confirm email to verify your email.

If you are not able to find the email you can use the dialog in OneEntry Headless CMS to resend the email.
Once you have verified your email you also get promo code for free access to study plan, just like this.

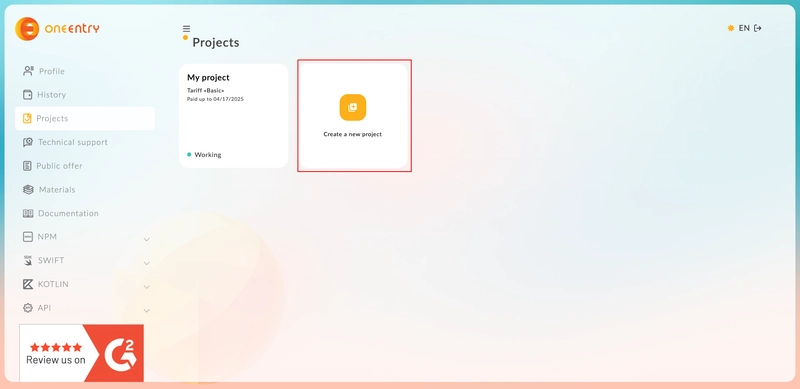
Now after successful signup and email verification you would be in your projects screen.
Let's create a new project by clicking on the Create new project button, if you are not on the projects screen then you can head over to this url to create the project
https://account.oneentry.cloud/projects
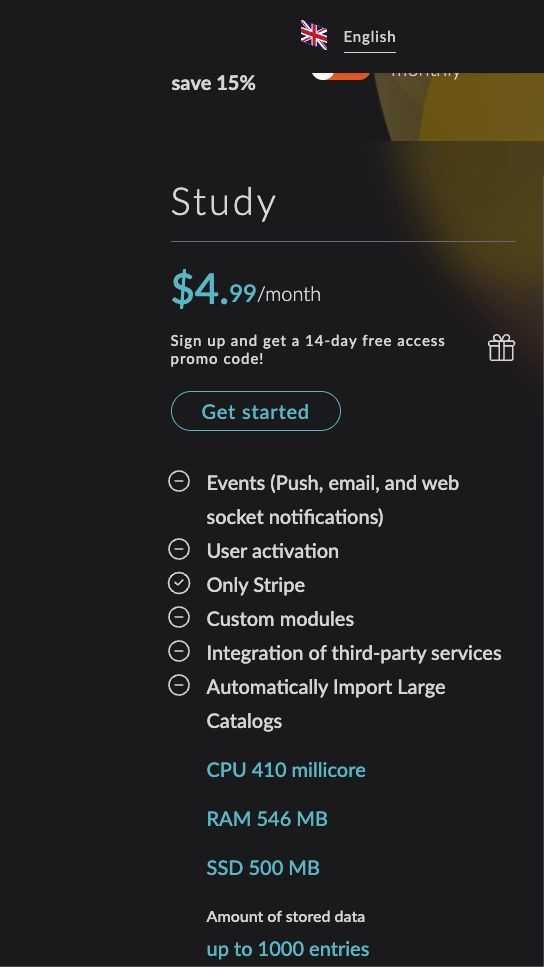
Now on the project creation screen add a project name, add a subdomain name which is unique and select a plan that suits your needs.
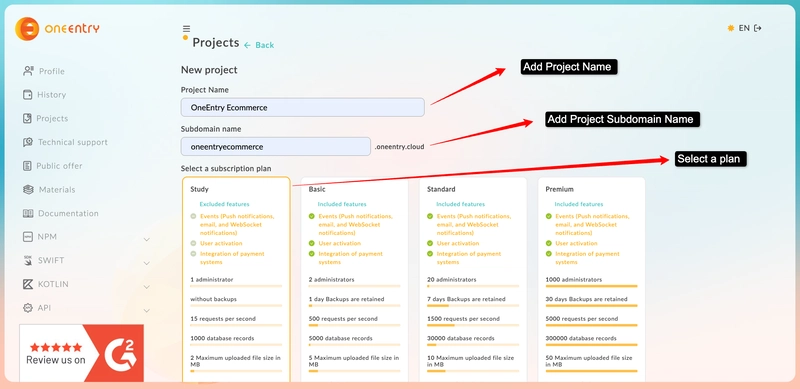
We have got different plans here,
- Study
- Basic
- Standard
- Premium
The study plan doesn't have access to the following features,
- Events (Push notifications, email, and WebSocket notifications)
- User activation
- Integration of payment systems
meanwhile the other plans have access to all of these features and increased limits.
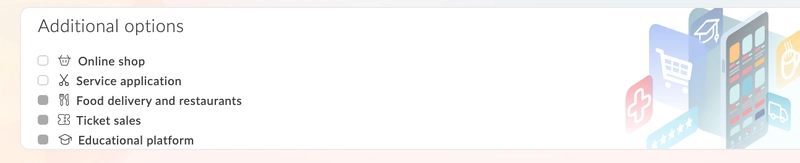
Moreover you also get pre-made templates for faster setup from Plans starting from Basic and higher.
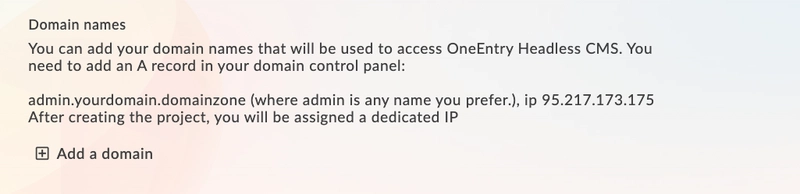
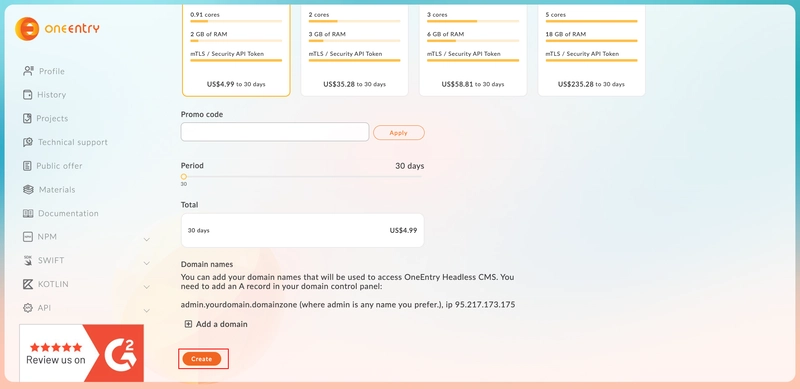
You can also add a custom domain to access OneEntry Headless CMS.
You need to add an A record in your domain control panel.
Now scroll down and click on the create button,
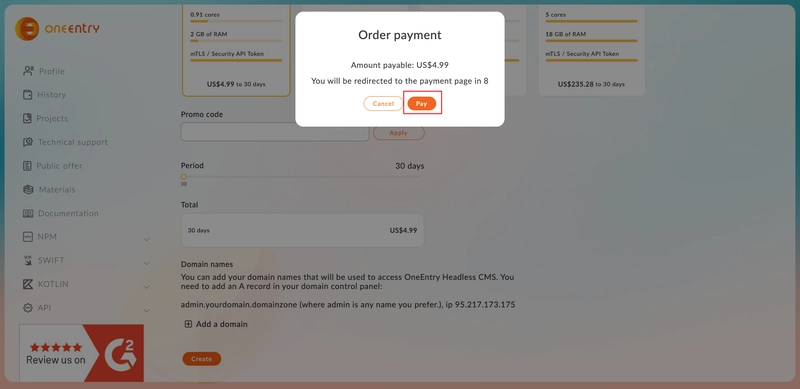
Now you will see an order payment modal, click on the pay button to pay for your selected plan and create the project and get started,
Now you will see a stripe payment screen, add your payment details and pay for your plan in order to continue,

Now after a few minutes you will receive an email for your credentials, like this

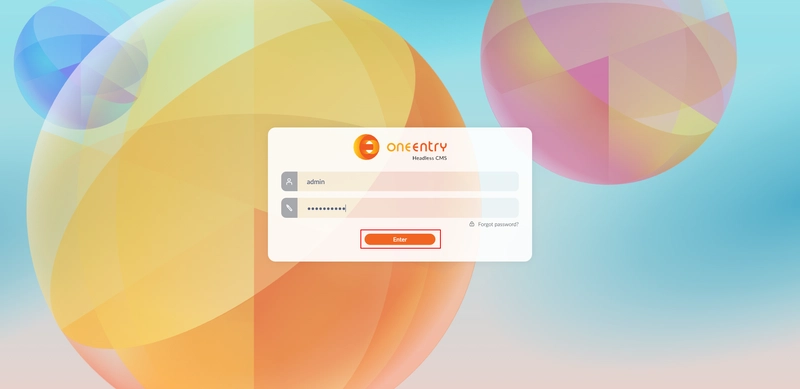
Now hit the URL of your project from the mail and enter the credentials you received by email and hit Enter
Now you would see OneEntry Project Dashboard after successful login, like this
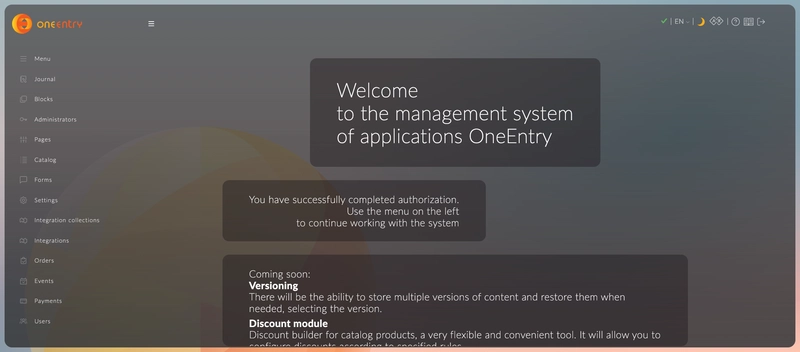
Now our OneEntry Headless CMS setup is complete, let's setup our Next.js app.
Creating a Next.js App
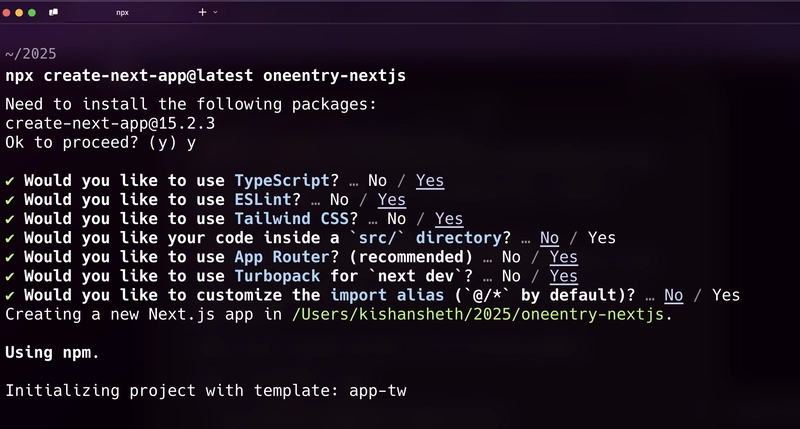
Open up your terminal and type in the following commands,
Setup Next.js app
npx create-next-app@latest oneentry-nextjs
It will show some options for the setup, select these options,
Installing OneEntry Headless CMS SDK
Now let's install OneEntry Headless CMS SDK
npx install oneentry
This will install OneEntry Headless CMS SDK which is used to interact with the CMS.
Generating an API Token
Alright, now let's create and Setup an API token from OneEntry Headless CMS to our Next.js app. This API token would be used to interact with OneEntry Headless CMS using the OneEntry SDK.
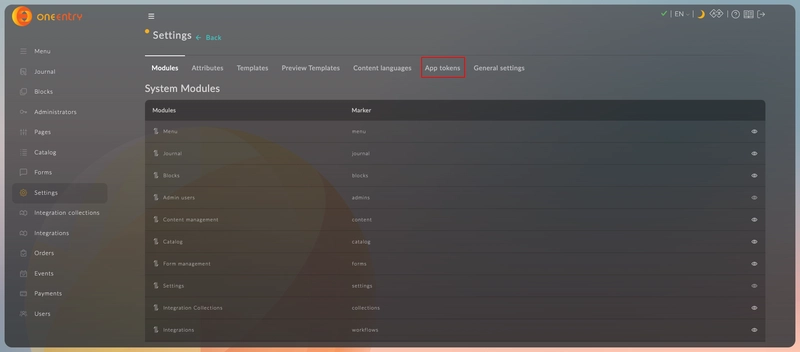
Step 1: Head over to Settings in your OneEntry Headless CMS Project Dashboard,

Step 2: Click on, App Tokens on the Settings Page to create an App Token which will help us interact with our OneEntry Headless CMS
Step 3: Now on the App Tokens Page, you will see a Generate App Tokens Section,
- Add the App name value
- Add an Expiry Date
- Click on the Create button to generate a token
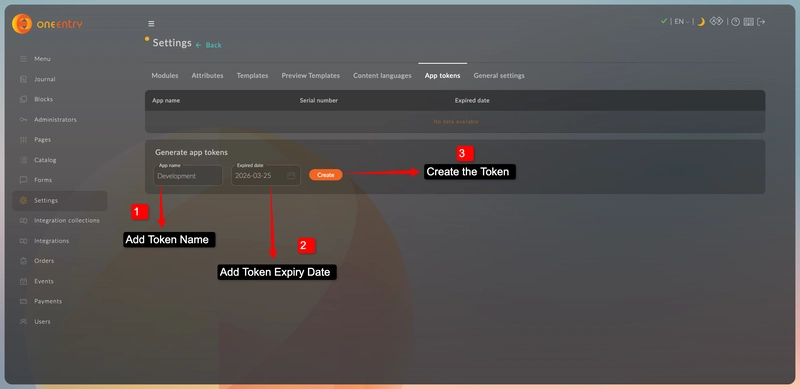
Now you can see a token generated in the table.
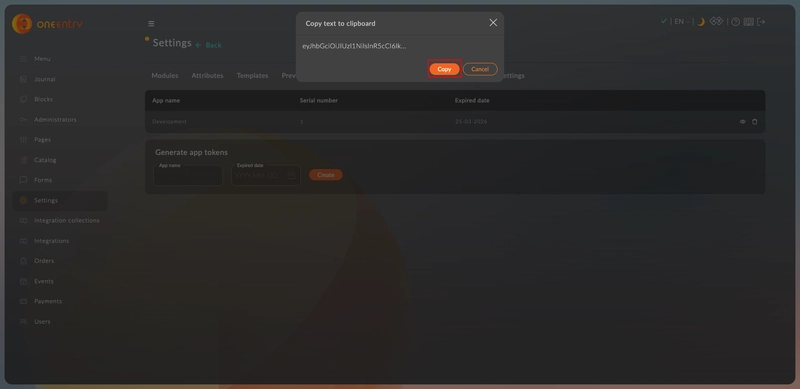
Step 4: Click on the eye icon to copy that token,

Step 5: You will see a modal where our token is visible, click on the copy button to copy the token to your clipboard.
Connecting OneEntry with Next.js
Step 6: Now head over to our source code and create a .env file at the root of the app.
Create an environment variable named as ONEENTRY_TOKEN and paste the token value in it.
ONEENTRY_TOKEN='********************************'
Now create another environment variable for project URL named as ONEENTRY_PROJECT_URL and paste your project URL from email.
ONEENTRY_PROJECT_URL=content.oneentry.cloud
Our OneEntry Token setup is complete. Now let's create an API Client which will be used to connect with OneEntry Headless CMS.
Step 7: Create API Client
Head over to your source code, create a directory called lib.
Inside of that, create a new file named as oneentry.ts.
Paste this code in the file,
import { defineOneEntry } from "oneentry";

// Define the type that includes null initially
export type ApiClientType = ReturnType<typeof defineOneEntry> | null;

let apiClient: ApiClientType = null;

// Initialize the API client with a custom configuration
async function setupApiClient(): Promise<ReturnType<typeof defineOneEntry>> {
  const apiUrl = process.env.ONEENTRY_PROJECT_URL;

  if (!apiUrl) {
    throw new Error("ONEENTRY_PROJECT_URL is missing");
  }

  if (!apiClient) {
    // Create a new instance of the API client
    apiClient = defineOneEntry(apiUrl, {
      token: process.env.ONEENTRY_TOKEN,
      langCode: "en_US",
    });
  }

  if (!apiClient) {
    throw new Error("Failed to initialize API client");
  }

  return apiClient;
}

// Retrieve the current API client instance or initialize if it doesn't exist
export async function fetchApiClient(): Promise<
  ReturnType<typeof defineOneEntry>
> {
  if (!apiClient) {
    await setupApiClient();
  }

  // At this point, TypeScript knows that `apiClient` cannot be null
  if (!apiClient) {
    throw new Error("API client is still null after setup");
  }

  return apiClient;
}
And that's it, now our Next.js app is connected with OneEntry Headless CMS.
Conclusion and Next Steps
From here, you can start creating content using OneEntry Headless CMS and build all the awesome things. We explored how to setup your OneEntry CMS Project and connect with Next.js in detail.
Next Steps?
You can start exploring features of OneEntry Headless CMS, create content and use it on your frontend without any kind of hassles.
One Last Thing
It would mean the world to us if you can give us a review on G2
Got questions? Hit us in the comments section.
See you in the next one