


Commit to Code: Setting Up Git and GitHub
Git & GitHub Series ➡️ You're reading Part 2 ⬅️ Part 1: Why Git & GitHub Matter Installation and Setup In this part of the series, we’ll walk through installing Git on your system, setting up your identity, and creating a GitHub account, everything you need to start tracking and sharing your code. 1. Installing Git Windows Go to git-scm.com and download the Windows installer. Run the installer and click Next through the setup wizard (default settings are fine). Choose Git Bash as your default terminal. Finish the installation and verify Git was installed: git --version macOS Option 1 – Install via Xcode CLI: xcode-select --install Option 2 – Using Homebrew: brew install git Verify installation: git --version 2. Configuring Git with Your Identity Once Git is installed, you should set your username and email. This information will be attached to your commits. git config --global user.name "Your Name" git config --global user.email "your.email@example.com" To verify your settings: git config --list This ensures that every commit you make is properly attributed to you, which is especially important when collaborating. 3. Creating a GitHub Account If you don’t already have a GitHub account: Visit https://github.com/join Choose a username, enter your email address, and create a password Follow the prompts to verify your email and complete your profile Once you’re signed in, you’ll be ready to start creating repositories and pushing code to GitHub. You're All Set! You now have: ✅ Git installed ✅ Your identity configured ✅ A GitHub account ready to go In the next part of the series, we’ll create your first local repository, make changes, and commit your code. More from the series: Part 1: Why Git & GitHub Matter Part 3: (Coming soon) Creating Your First Repository & Making a Commit Enjoyed this? Let me know in the comments or follow me for the next post in this Git & GitHub series! shanedsouza.com
Git & GitHub Series
➡️ You're reading Part 2
⬅️ Part 1: Why Git & GitHub Matter
Installation and Setup
In this part of the series, we’ll walk through installing Git on your system, setting up your identity, and creating a GitHub account, everything you need to start tracking and sharing your code.
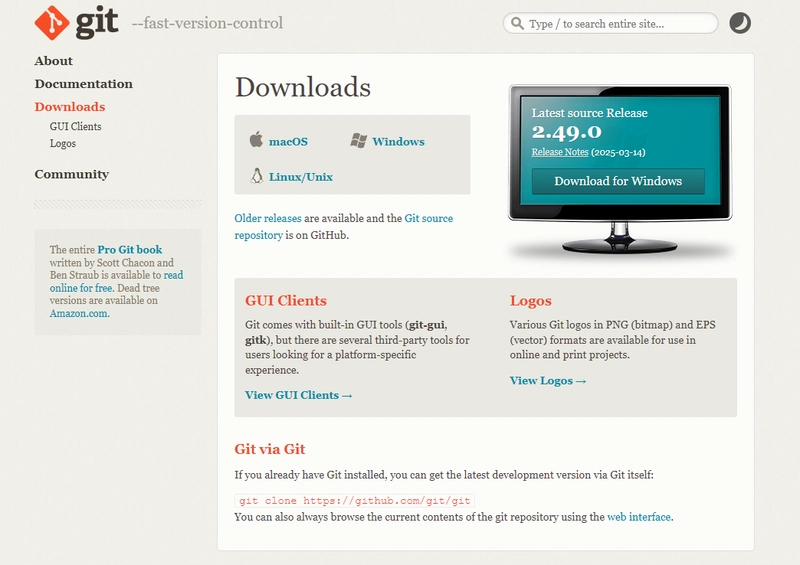
1. Installing Git
Windows
- Go to git-scm.com and download the Windows installer.
- Run the installer and click Next through the setup wizard (default settings are fine).
- Choose Git Bash as your default terminal.
- Finish the installation and verify Git was installed:
git --version
macOS
Option 1 – Install via Xcode CLI:
xcode-select --install
Option 2 – Using Homebrew:
brew install git
Verify installation:
git --version
2. Configuring Git with Your Identity
Once Git is installed, you should set your username and email. This information will be attached to your commits.
git config --global user.name "Your Name"
git config --global user.email "your.email@example.com"
To verify your settings:
git config --list
This ensures that every commit you make is properly attributed to you, which is especially important when collaborating.
3. Creating a GitHub Account
If you don’t already have a GitHub account:

- Visit https://github.com/join
- Choose a username, enter your email address, and create a password
- Follow the prompts to verify your email and complete your profile Once you’re signed in, you’ll be ready to start creating repositories and pushing code to GitHub.
You're All Set!
You now have:
✅ Git installed
✅ Your identity configured
✅ A GitHub account ready to go
In the next part of the series, we’ll create your first local repository, make changes, and commit your code.
More from the series:
Part 1: Why Git & GitHub Matter
Part 3: (Coming soon) Creating Your First Repository & Making a Commit
Enjoyed this?
Let me know in the comments or follow me for the next post in this Git & GitHub series!


